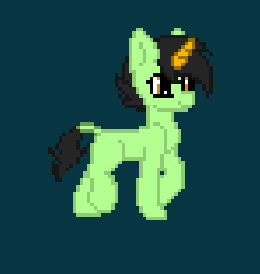
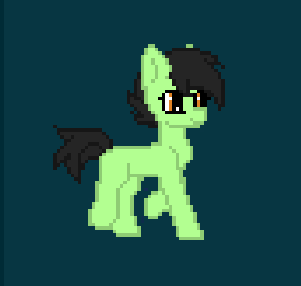
- Edited
Hello,
So i'm working a 2D Topdown pony MMORPG game using Godot 4.1(at the moment but i tend to upgrade to each update)
I have a character creator that is kinda advanced now so i think it's cool if i show it to the Godot community as it can fit with pretty much any 2D games.
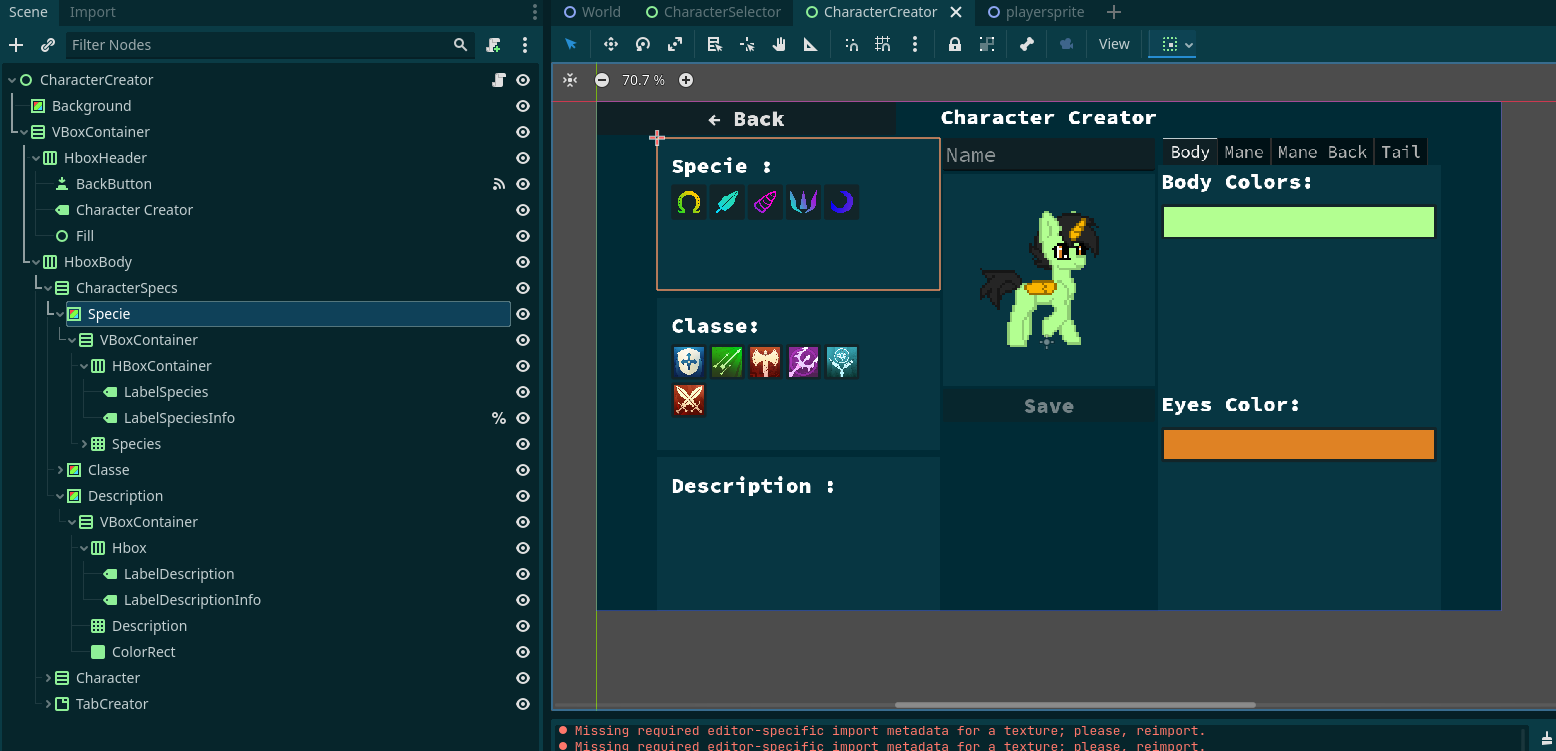
and this is what it looks like
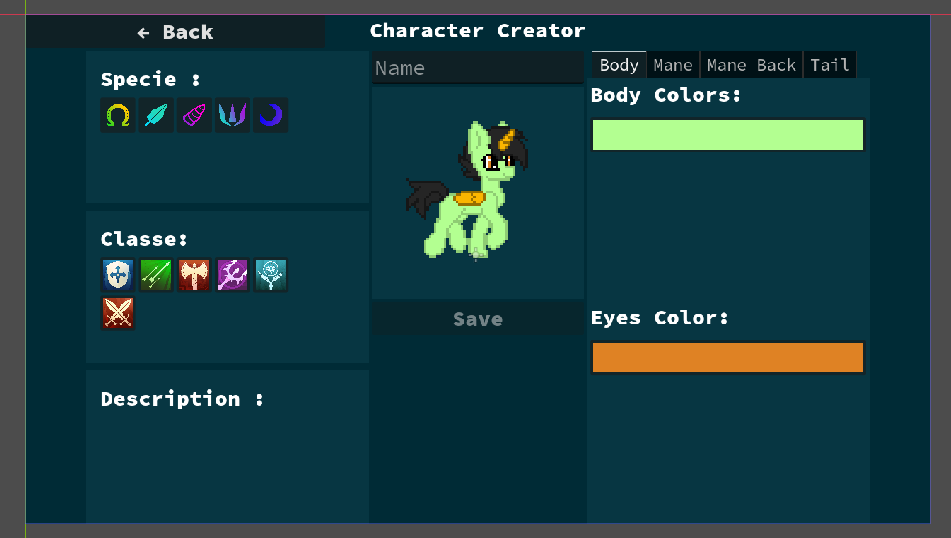
Ignore the classe part as it's not implemented yet, so the pony creator have 4 tabs for coloring and changing manes and tails, also depending of the specie some more parameters are being displayed, in example if you select a Unicorn you will see the horn color picker like here: 
We can also look on the mane tab and it looks like this, it have one button wich is the only avaiable mane right now but more can be added to more button later.
There is also two color picker, one picker change the Fill and Outline color of the mane, the other one isn't working but will be asigned to a second fill color to be able to make multicolor manes.
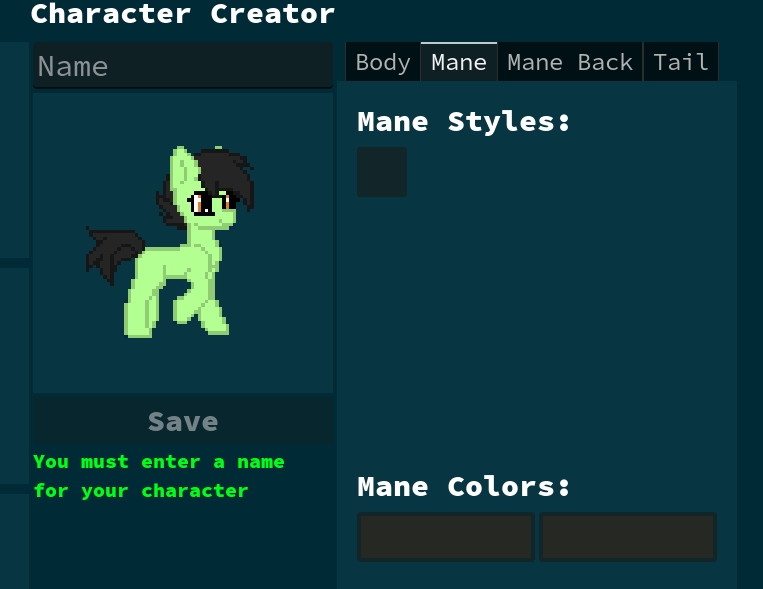
So basically when changing the first color picker color it will automatically make the Outline the same color but darker, this will prevent users to make weird ponies like this one: 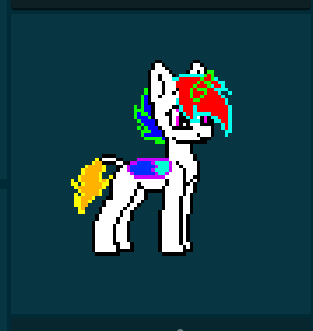
So that's it for the overview, we're going to use GDscript and some shader code for the coloring part, yes we could use self modulate for easier coloring, i've never really played with it so idk if it would allows for multicolor manes.
Alright let's dive in and start with the pony sprite first
our pony is made from multiple Sprite2D nodes
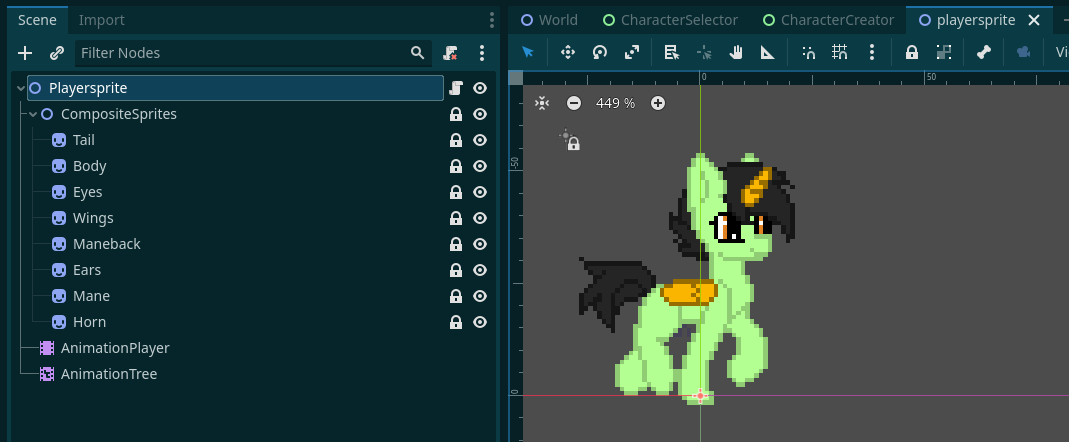
each Sprite2D node can be loaded with a single sprite "idle" or a spritesheet for animation like for exmaple when walking
right now if we look in the body sprite2D node we can see there is the walking spritesheet in it, i'm having a bug where the character is always walking by default inside the godot editor only, so normally it sohuld be the idle sprite
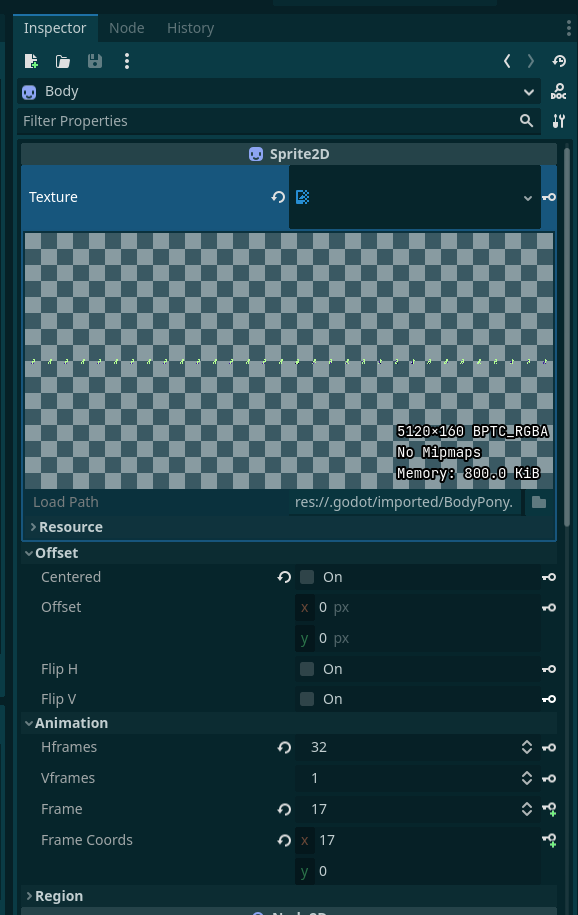
anyway now the part that we're here for is the shader
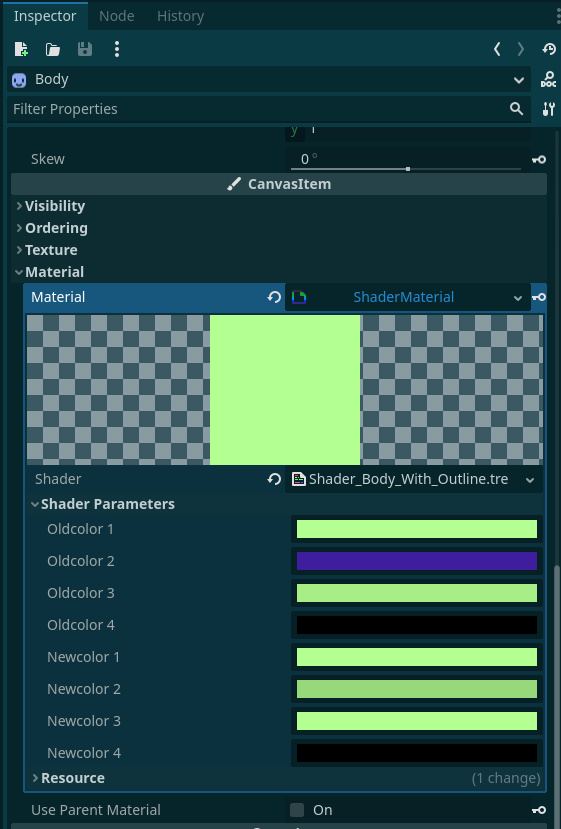
So this is what properties the shader will give us, it have 4 "old colors" these are the colors that you want to be changed when using the newcolor properties so in example you can use OLDCOLOR1 for the body fill, then OLDCOLOR2 for the outline, this means in our Character creator UI we should assign the color picker to the NEWCOLOR properties, here is the shader code:
shader_type canvas_item;
uniform vec4 OLDCOLOR1 : source_color;
uniform vec4 OLDCOLOR2 : source_color;
uniform vec4 OLDCOLOR3 : source_color;
uniform vec4 OLDCOLOR4 : source_color;
uniform vec4 NEWCOLOR1 : source_color;
uniform vec4 NEWCOLOR2 : source_color;
uniform vec4 NEWCOLOR3 : source_color;
uniform vec4 NEWCOLOR4 : source_color;
void fragment() {
vec4 curr_color = texture(TEXTURE,UV); // Get current color of pixel
//Lets check that our current pixel colour is any of the OLDCOLORs we wish to swap
//If our pixel is an old colour then swap COLOR to NEWCOLOR, very simple
if (distance(curr_color, OLDCOLOR1) < 0.1)
{
COLOR = NEWCOLOR1;
}
else if (distance(curr_color, OLDCOLOR2) < 0.1) //This one got edited so OLDCOLOR2 will be equal to NEWCOLOR1 but darker
{
COLOR.rgb = NEWCOLOR1.rgb * 0.6; // Adjust the multiplication factor to control darkness
COLOR.a = NEWCOLOR1.a; // Preserve the original alpha value
}
else if (distance(curr_color, OLDCOLOR3) < 0.1)
{
COLOR = NEWCOLOR3;
}
else if (distance(curr_color, OLDCOLOR4) < 0.1)
{
COLOR = NEWCOLOR4;
}
else
{
//We didn't find any old colors for this pixel so keep it's original color
COLOR = curr_color;
}
}
Ok now i think we can look into the character creator node structure, it have a lot of nodes but it's mostly basic UI nodes that are sometime referenced in the script, we'll get to it.
So first it's split into 2 parts a header and a body, it's just UI so you can shape however you want, here i'm using HBox and VBox nodes to get a clean layout
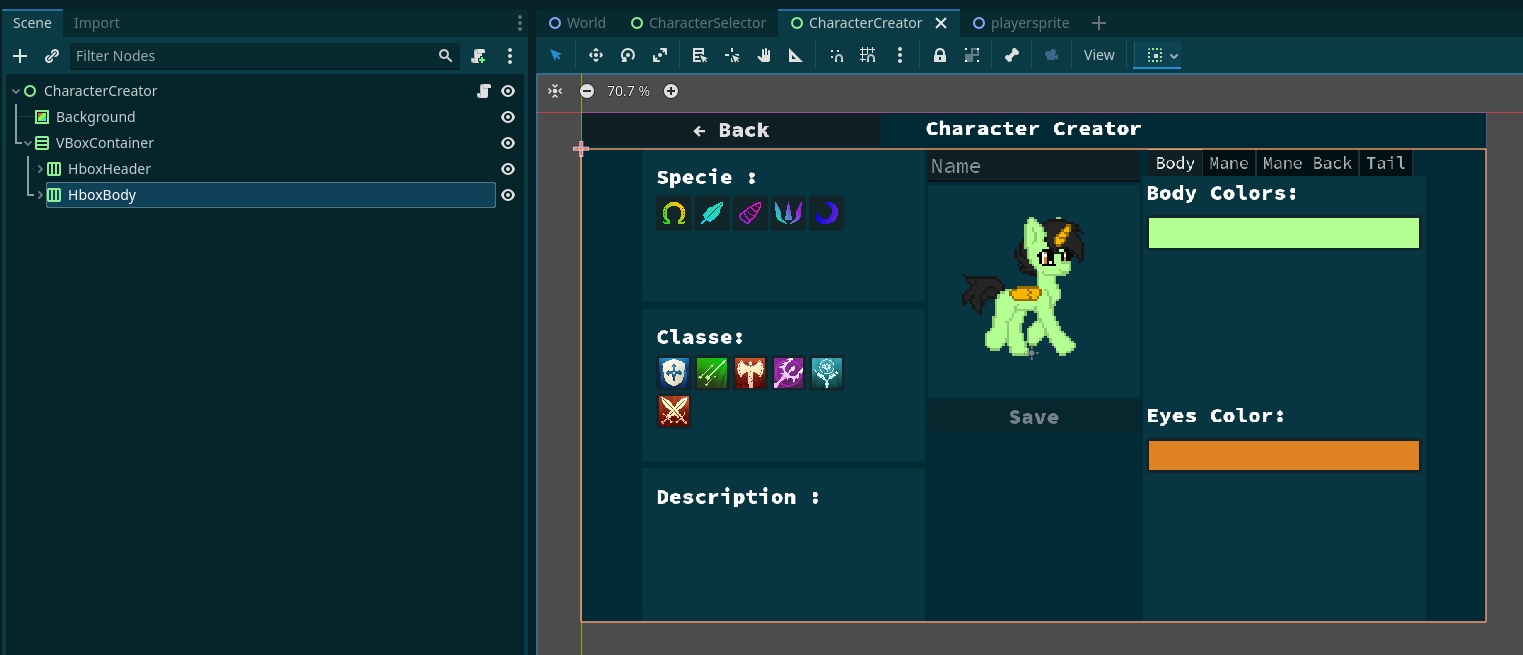
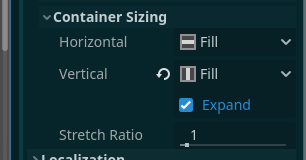
I also use the expand parameter in the container sizing property
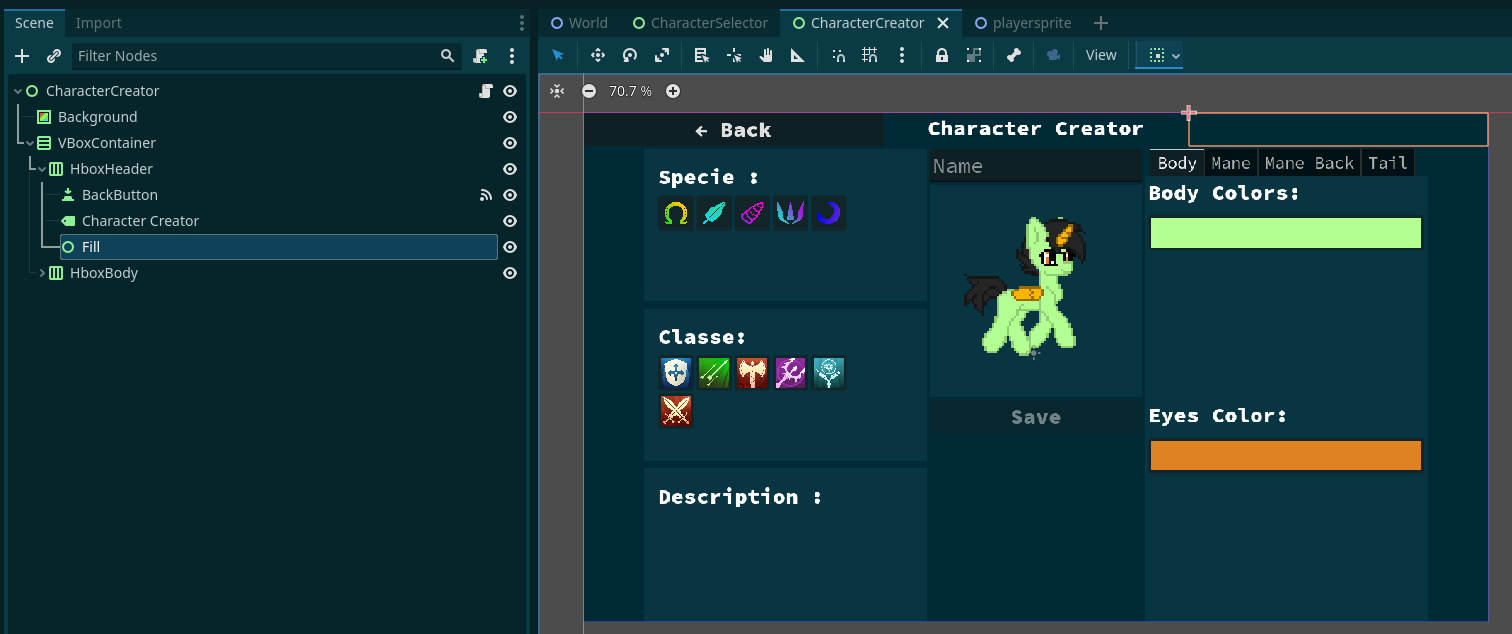
So ourt header have a back button that will bring us back to the character selection screen, it have a label, and an empty node to fill using the expand parameter we've seen before
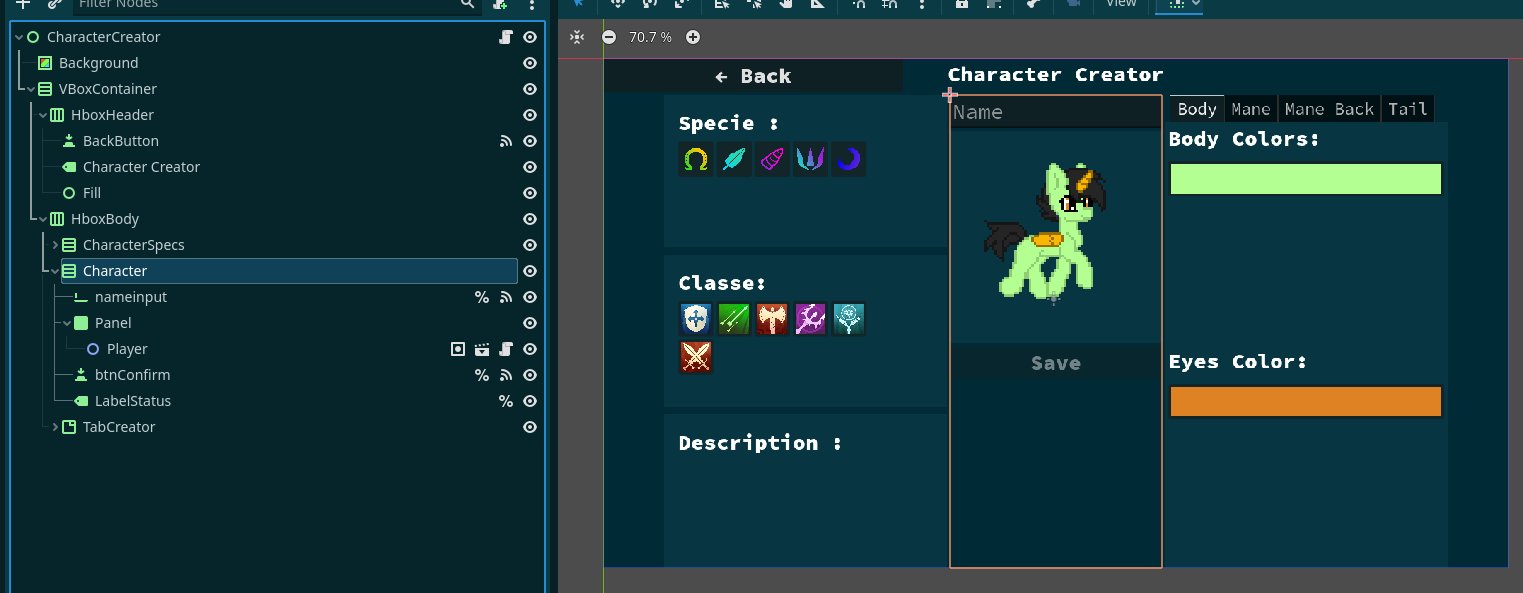
Now i've opened the Character Vbox wich is the center of the UI, it's the one with the less nodes so we will cover it fisrt, it have our character name input wich we will use later, a panel with our Player node wich is actually just the player sprite we've seen before (it's not the whole player node wich is the playable one), then we have the Save button and bellow a label that can serve as displaying status, for example here if the player don't put a name on his character the save button will be disabled and the label will say something like "you must name your character"
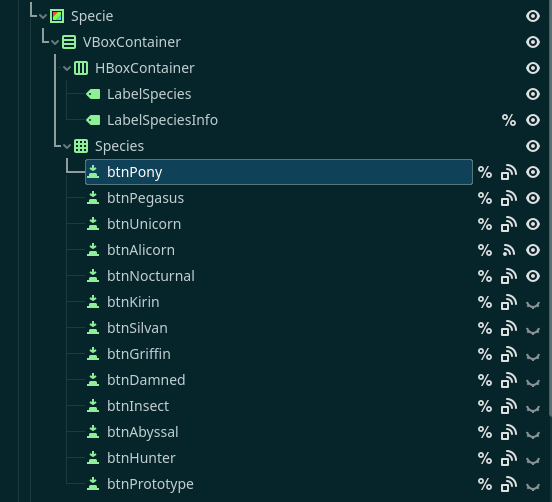
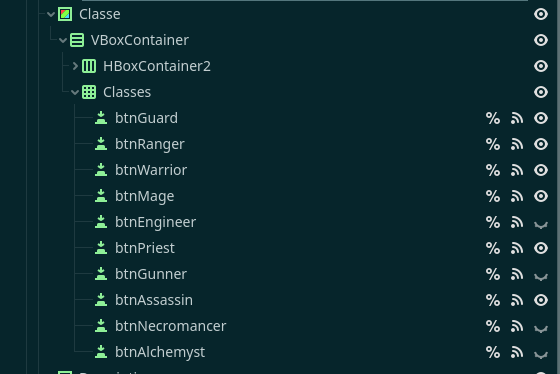
Now the characterspecs part, we have a a background node that serve as panel it have GridCOntainer that have buttons as it's children, the buttons are scripted so when you press one button all the other buttons will become unpressed, this is called radio button we'll see the code for it later.
here all the buttons for the species, some are not displayed as it will be added later
Here the classes
The description is not set yet so we'll get to it later
(Work in progress, i will write more later)


